
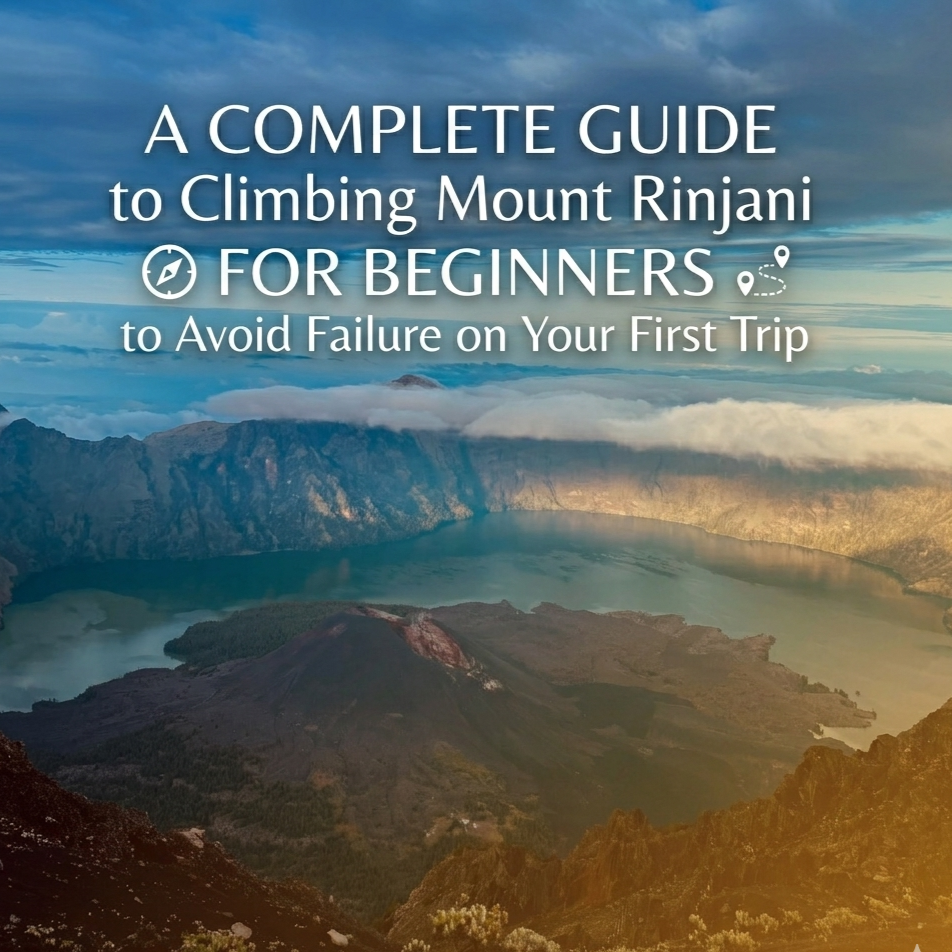
Gunung Rinjani, standing tall at 3,726 meters (12,224 feet) on Lombok Island, Indonesia, is a bucket-list destination for hikers worldwide. While it offers unparalleled natural beauty, including a breathtaking caldera and the iconic Segara Anak lake, it’s a demanding trek that requires careful planning. This guide is designed to help beginners navigate the challenge and ensure a successful first ascent.
Phase 1: Planning and Preparation
1. Booking Your Trek:
Choose a Reputable Tour Operator: Crucial step. Check online reviews, compare itineraries (number of days, inclusion of hot springs/summit), and verify they are licensed by Mount Rinjani National Park. A good operator provides experienced guides, reliable porters, and quality equipment.
Select the Right Itinerary: While the 2-day/1-night (2D1N) summit trek is possible, a 3D2N or 4D3N itinerary allows for a more manageable pace and better acclimatization.
Determine Your Timing: The dry season, from April to October, offers the best weather conditions.
2. Physical Conditioning:
Cardiovascular Fitness: Engage in consistent cardio exercises (running, swimming, cycling) to improve your stamina and lung capacity.
Strength Training: Strengthen your legs (squats, lunges, calf raises), core, and upper body to handle the demands of the terrain and carrying a backpack.
Hiking Practice: Include practice hikes with your loaded backpack to build leg strength and acclimate to hiking on uneven terrain.
Acclimatization: If possible, spend a few days at a higher altitude (above 1,500m) in the weeks leading up to your trek.
3. Packing Essential Gear:
Sturdy Hiking Boots: Invest in high-quality, broken-in hiking boots with good ankle support and a robust sole.
Layered Clothing: Pack moisture-wicking base layers, insulating middle layers (fleece or down jacket), and a waterproof/windproof outer shell. Conditions change rapidly, especially near the summit.
Backpack: A comfortable, well-fitting backpack (30-50L capacity) to carry your essentials.
Headlamp: Essential for night treks to the summit.
Trekking Poles: Highly recommended for stability and reducing strain on your knees, especially during the descent.
Water Bottle/Hydration Pack: Stay hydrated by drinking plenty of water throughout the trek.
Sun Protection: Hat, sunglasses, and high-SPF sunscreen are essential to prevent sunburn.
Personal First-Aid Kit: Include essentials like pain relievers, blister treatment, bandages, and any personal medications.
Power Bank: Keep your electronics charged for navigation and capturing photos.
4. Permits and Insurance:
National Park Entrance Fee: Check the current fees and pay them in advance, or ensure they are included in your tour package.
Travel Insurance: Obtain comprehensive travel insurance that covers high-altitude hiking and potential emergencies.
Phase 2: On the Trek
5. Start Early and Pace Yourself:
Morning Departures: Treks typically start early in the morning to maximize daylight hours and enjoy the cooler temperatures.
Steady Rhythm: Find a comfortable pace that you can maintain for hours. Don’t rush; listen to your body and take breaks when needed.
Listen to Your Guide: Follow your guide’s instructions and advice regarding pacing, rest stops, and route choices.
6. Hydration and Nutrition:
Drink Regularly: Consume water frequently, even if you don’t feel thirsty, to prevent dehydration.
Eat High-Energy Foods: Pack snacks like trail mix, energy bars, fruit, and light sandwiches to sustain your energy levels.
Acclimatization and Food: High altitude can reduce appetite. Focus on smaller, frequent meals.
7. Altitude Sickness:
Know the Symptoms: Common symptoms include headache, nausea, dizziness, fatigue, and shortness of breath.
Acclimatization is Key: A gradual ascent, allowing your body to adjust to the lower oxygen levels, is the best prevention.
Descend If Necessary: If you experience significant symptoms of altitude sickness, inform your guide immediately and descend to a lower altitude.
8. Summit Night (Optional, but Highlight):
Early Start: The summit trek often begins in the early hours of the morning (around 1 AM or 2 AM).
Prepare for the Cold: Expect significantly colder temperatures and potentially strong winds near the summit. Layer up appropriately.
Mental Resilience: The final push to the summit requires physical and mental stamina. Focus on small goals and maintain a positive attitude.
9. Stay Safe and Environmentally Conscious:
Stay on the Trail: Avoid taking shortcuts or going off-trail to minimize environmental impact and reduce the risk of getting lost.
Pack Out Your Trash: Follow the “Leave No Trace” principle and properly dispose of all waste.
Be Mindful of Weather Changes: Conditions can change rapidly near the summit. Be prepared for sudden shifts in visibility, wind, and temperature.
Phase 3: Post-Trek
10. Recovery and Reflection:
Rest and Hydrate: After completing the trek, take time to rest, rehydrate, and recover physically.
Celebrate Your Achievement: Acknowledge your accomplishment and enjoy the sense of pride that comes with conquering Mount Rinjani.
Share Your Experience: Reflect on your journey, the challenges you faced, and the breathtaking views you witnessed. Share your experiences and tips with others to inspire future hikers.
Climbing Mount Rinjani as a beginner is an ambitious and rewarding goal. By carefully planning, physically conditioning, and approaching the trek with respect for the environment and the challenge, you can significantly increase your chances of a successful and memorable journey. Remember that every step, no matter how small, brings you closer to the summit and to an experience you’ll cherish forever. Good luck!